-40%
Garage Floor Tiles Interlocking Perforated Basement Floating Flooring Case
$ 36.27
- Description
- Size Guide
Description
WELCOME TO FLOORJUNKIES EBAY AUCTIONSSAVE EVERYDAY
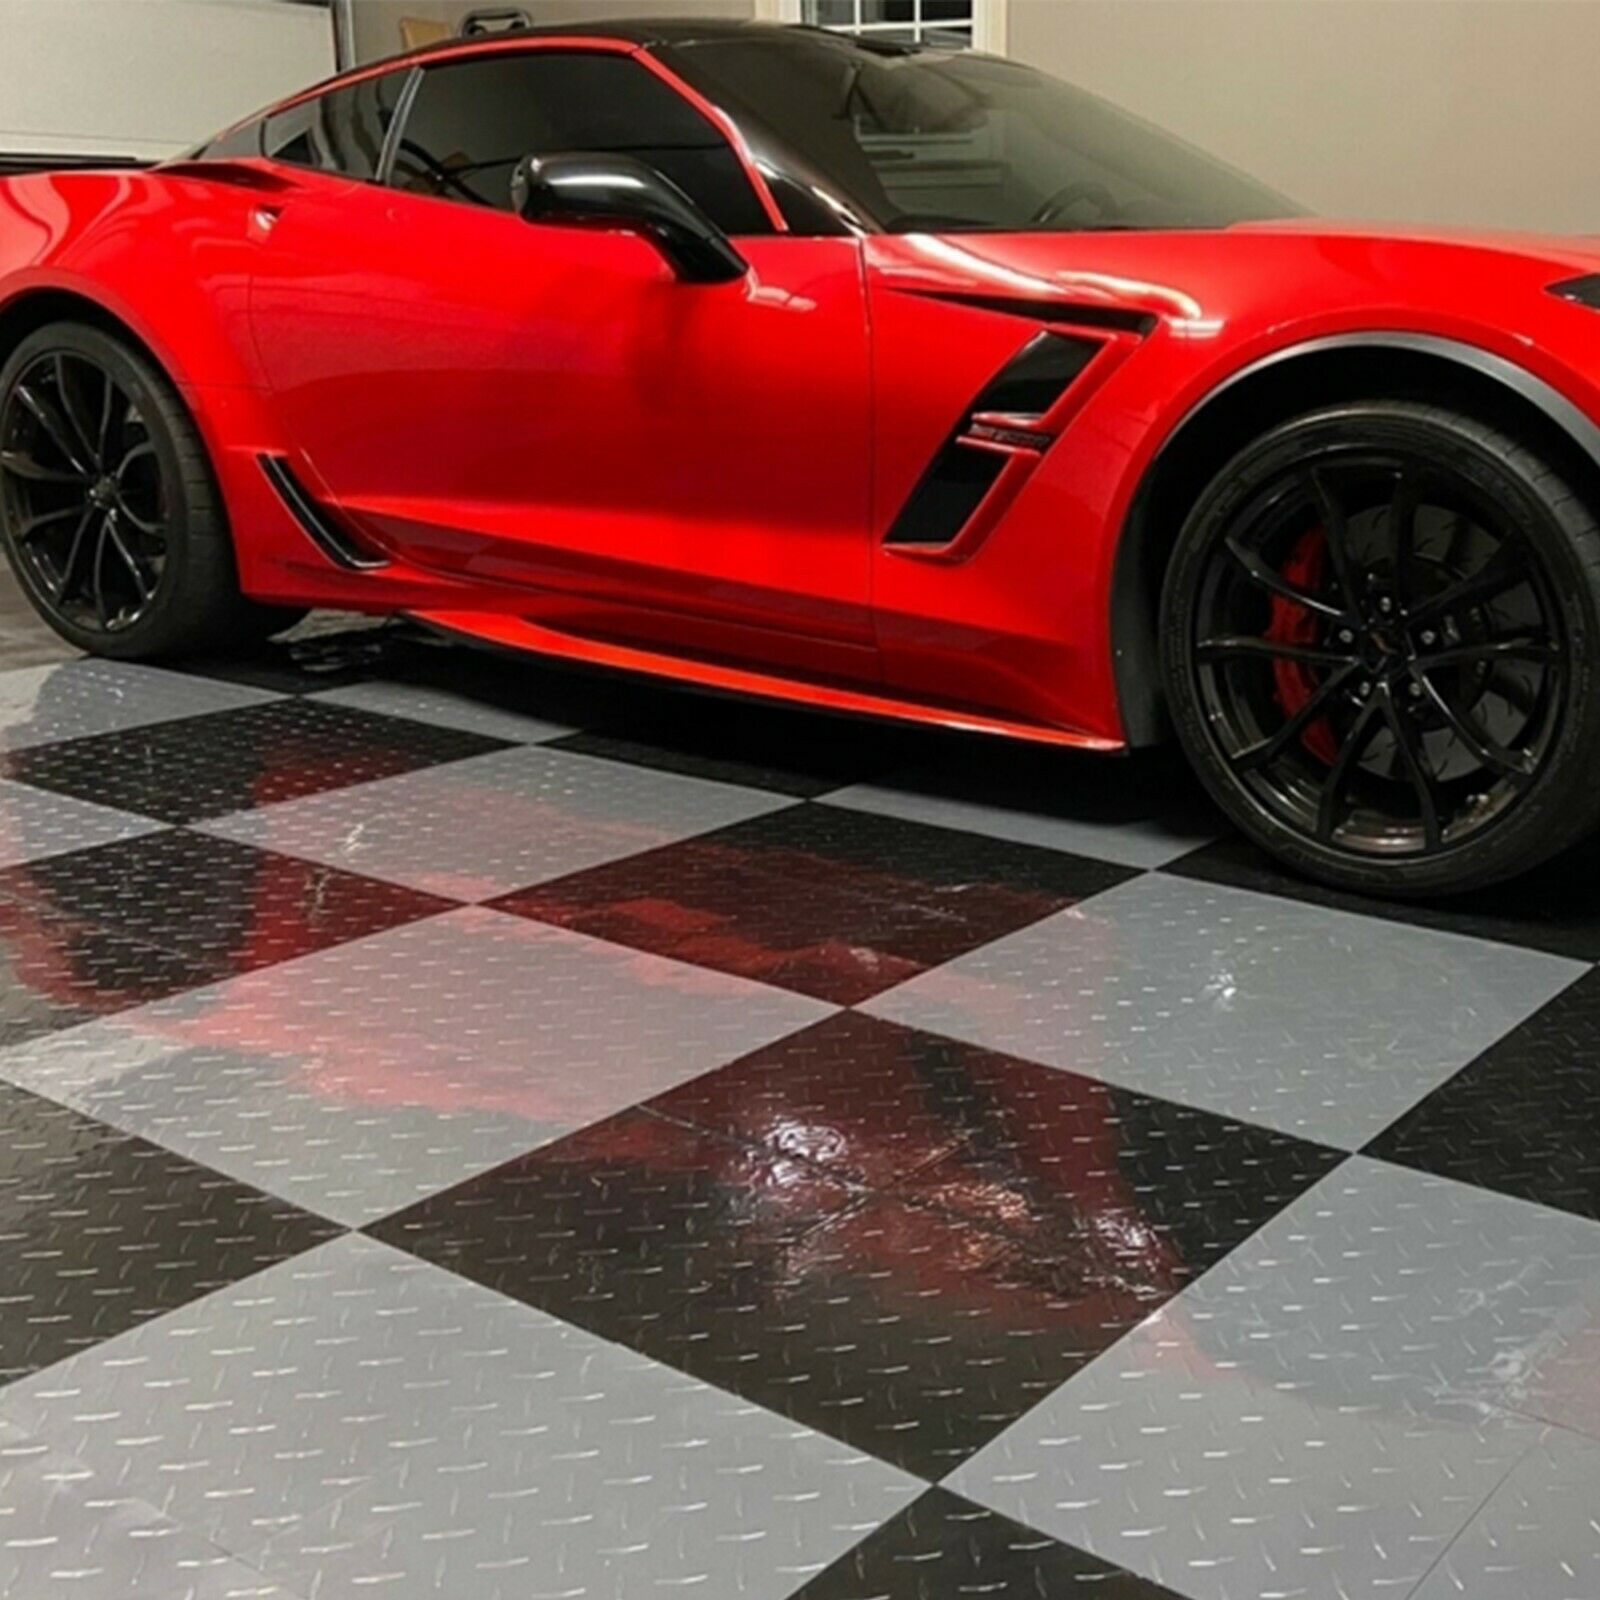
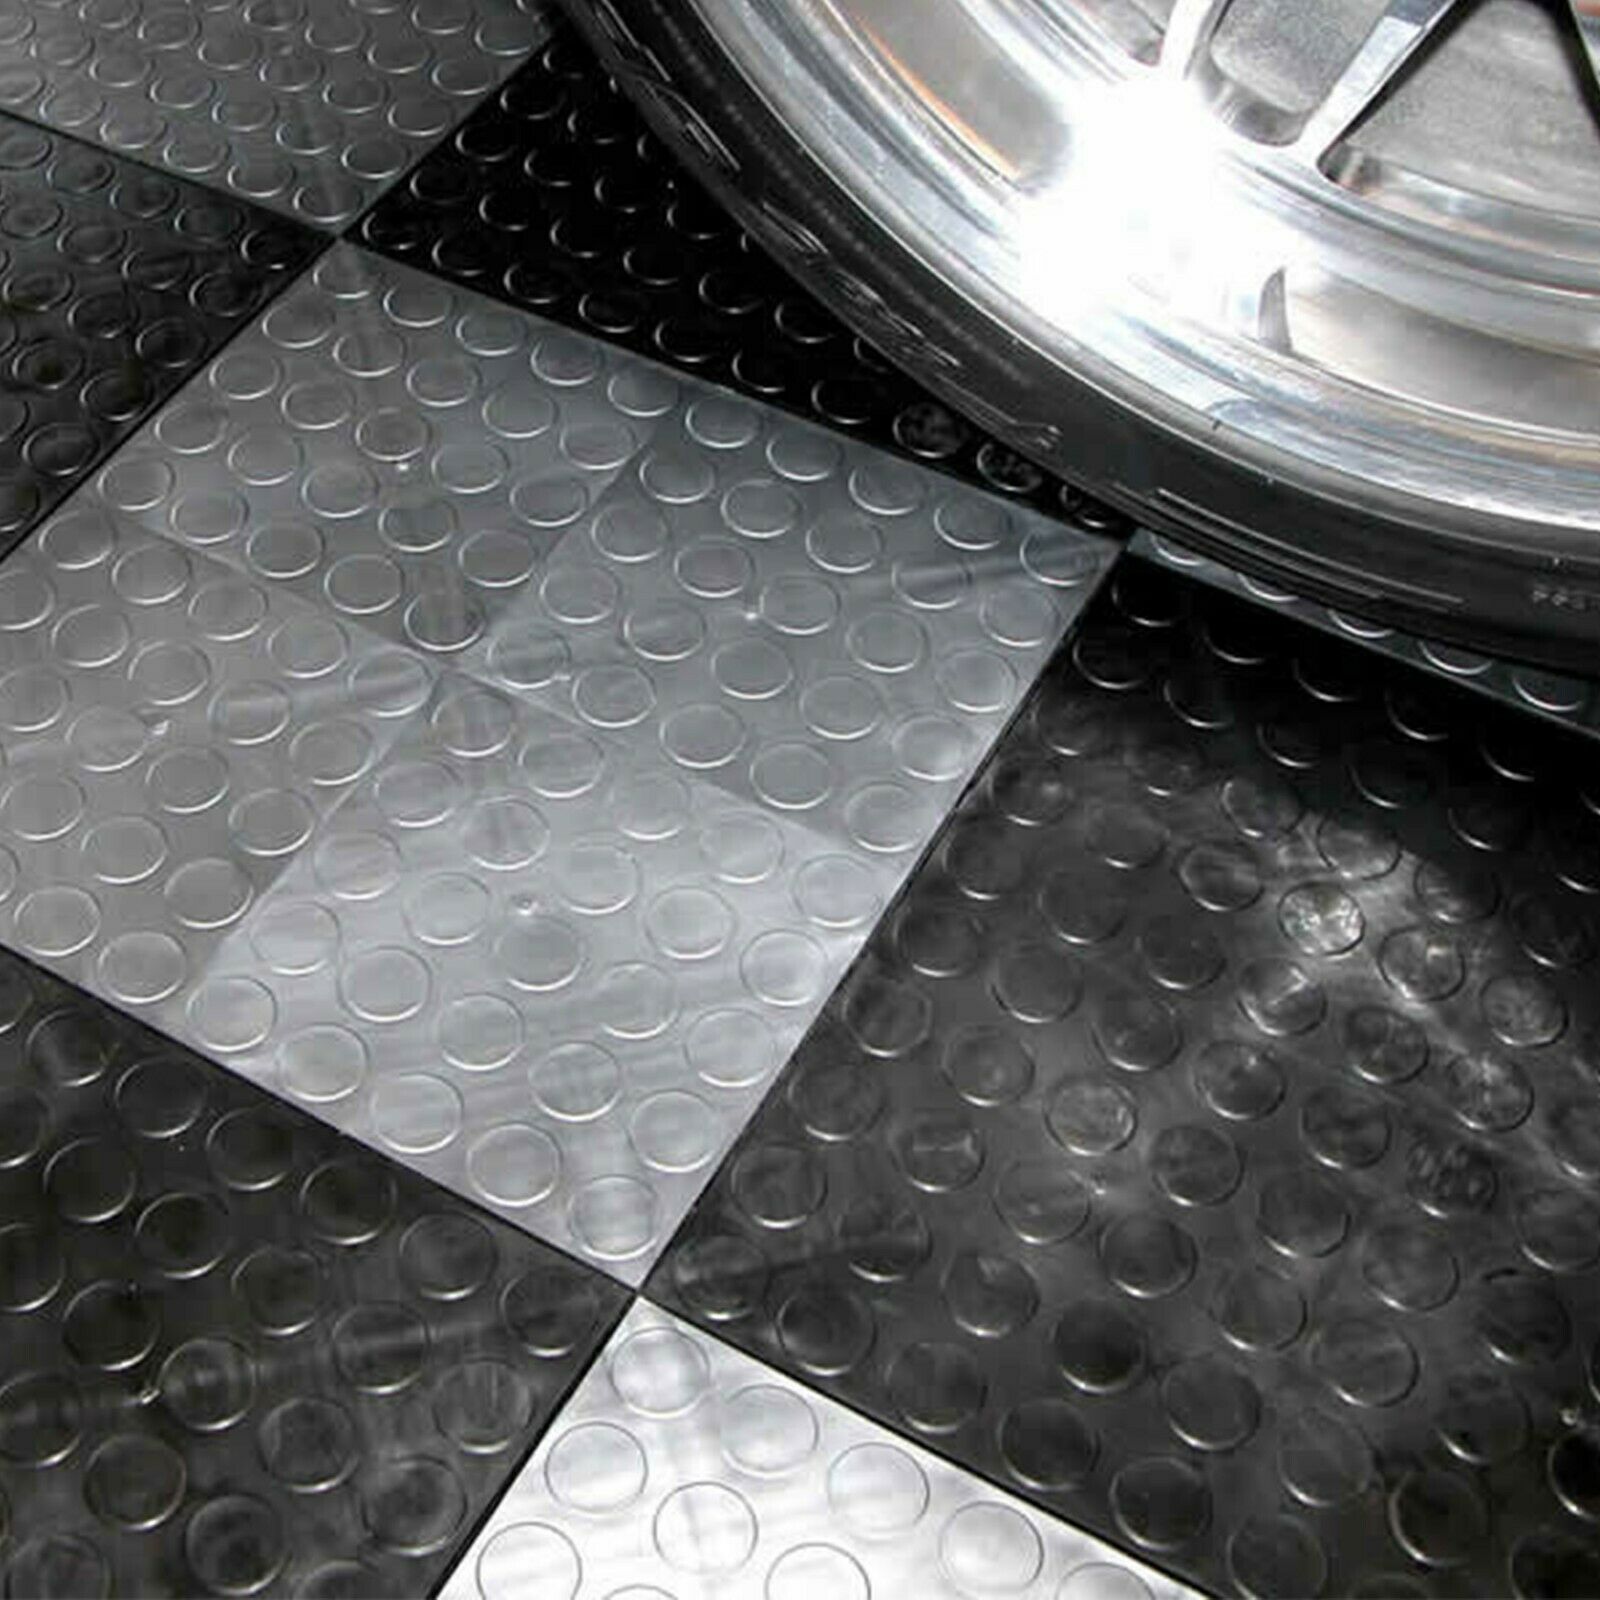
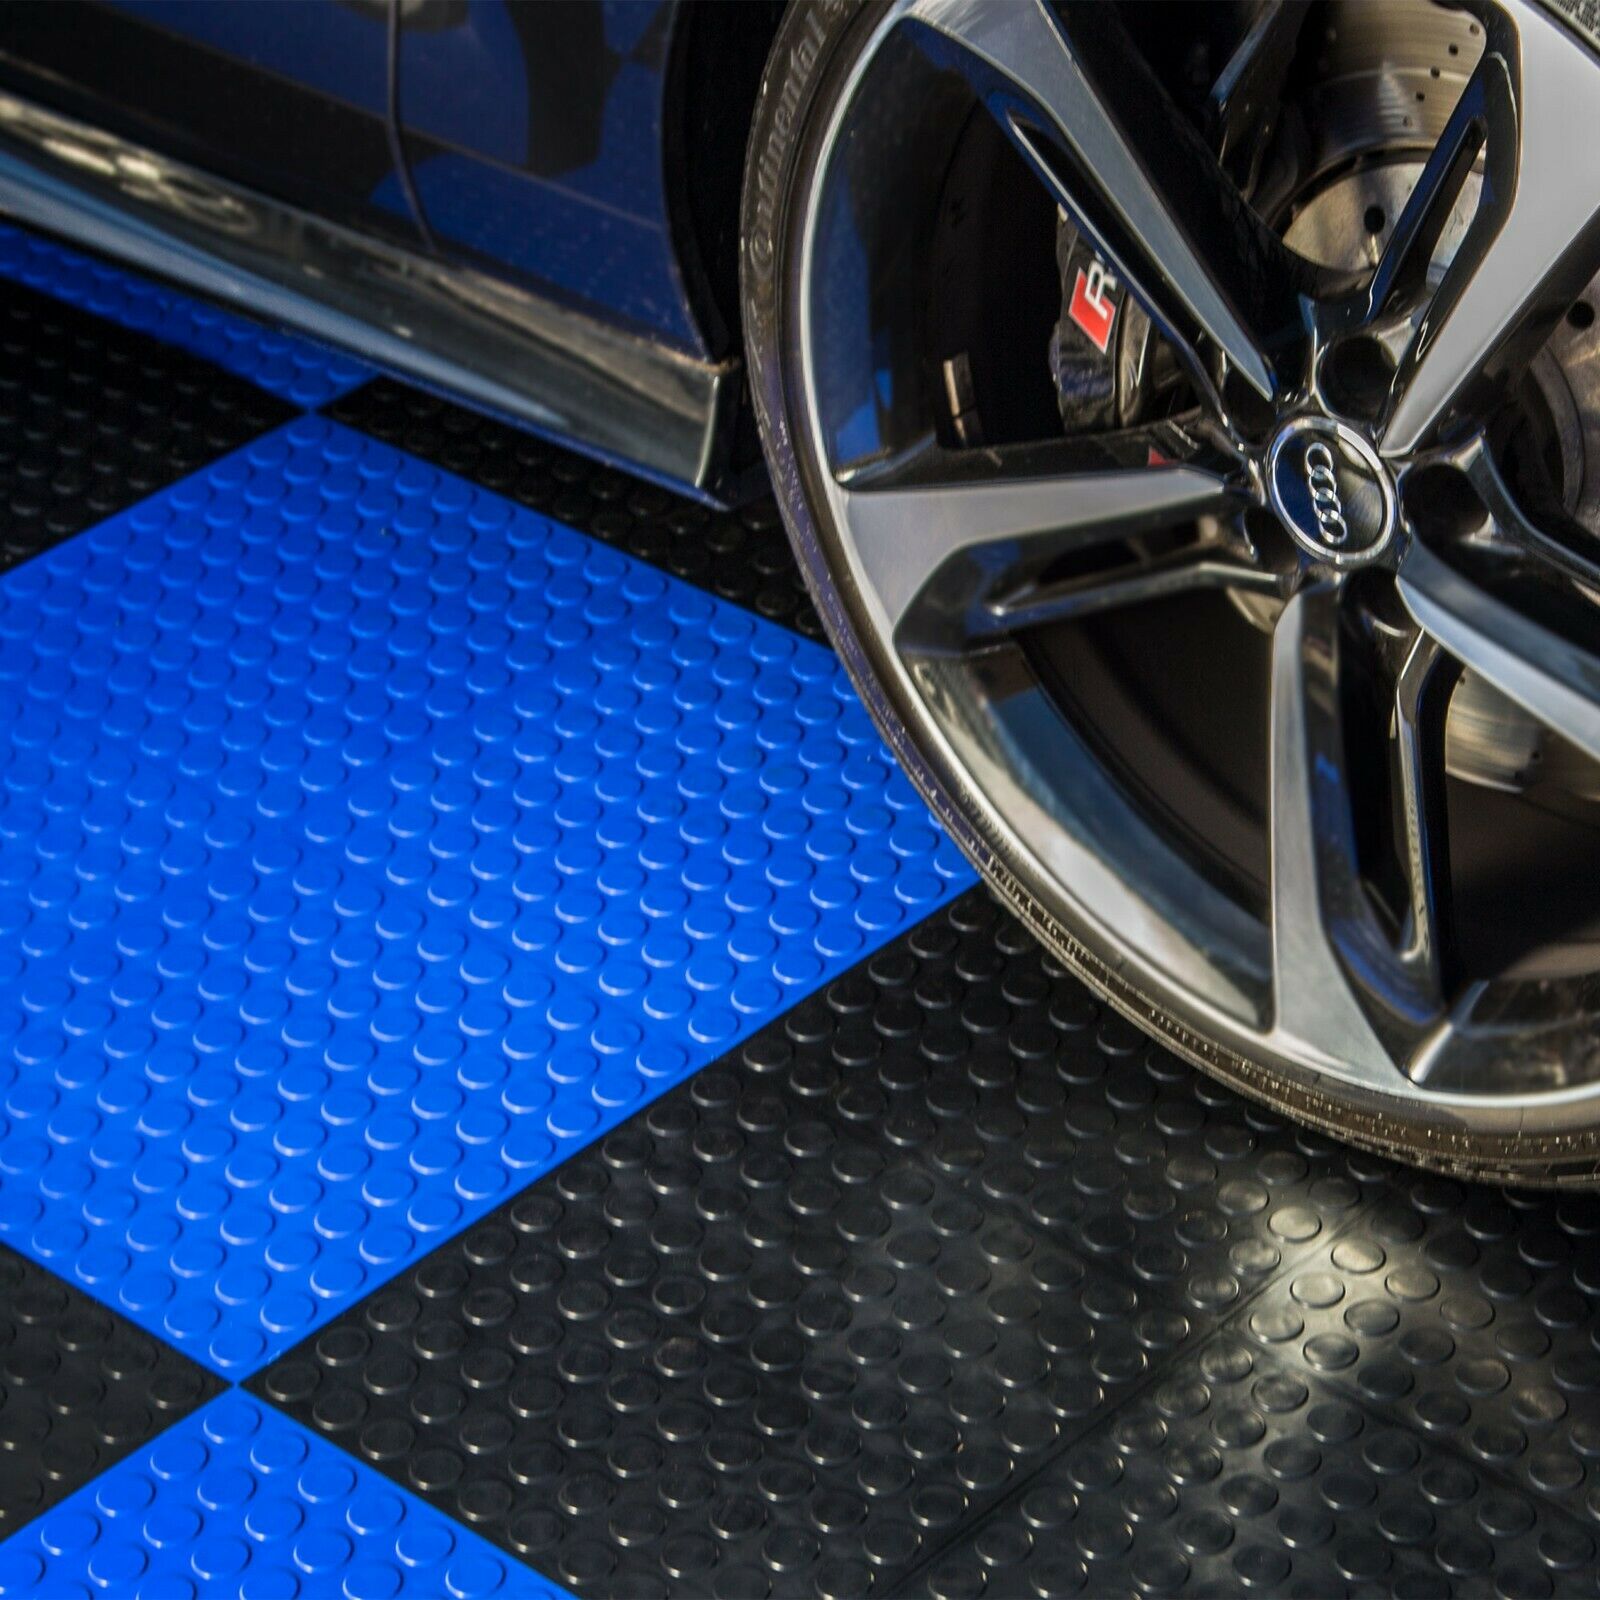
Perforated Garage Floor Tiles
Product Specification (per tile)
Thickness: 1/2 Inch
Size: 12" x 12"
Material: High Impact Copolymer
Auction Price Includes 1 case (30 tiles)
Ramp edges are not included. Ramp edges sold separately.
Recommended Uses
Garage Floors
Indoor Basketball Courts
Indoor Voleyball Courts
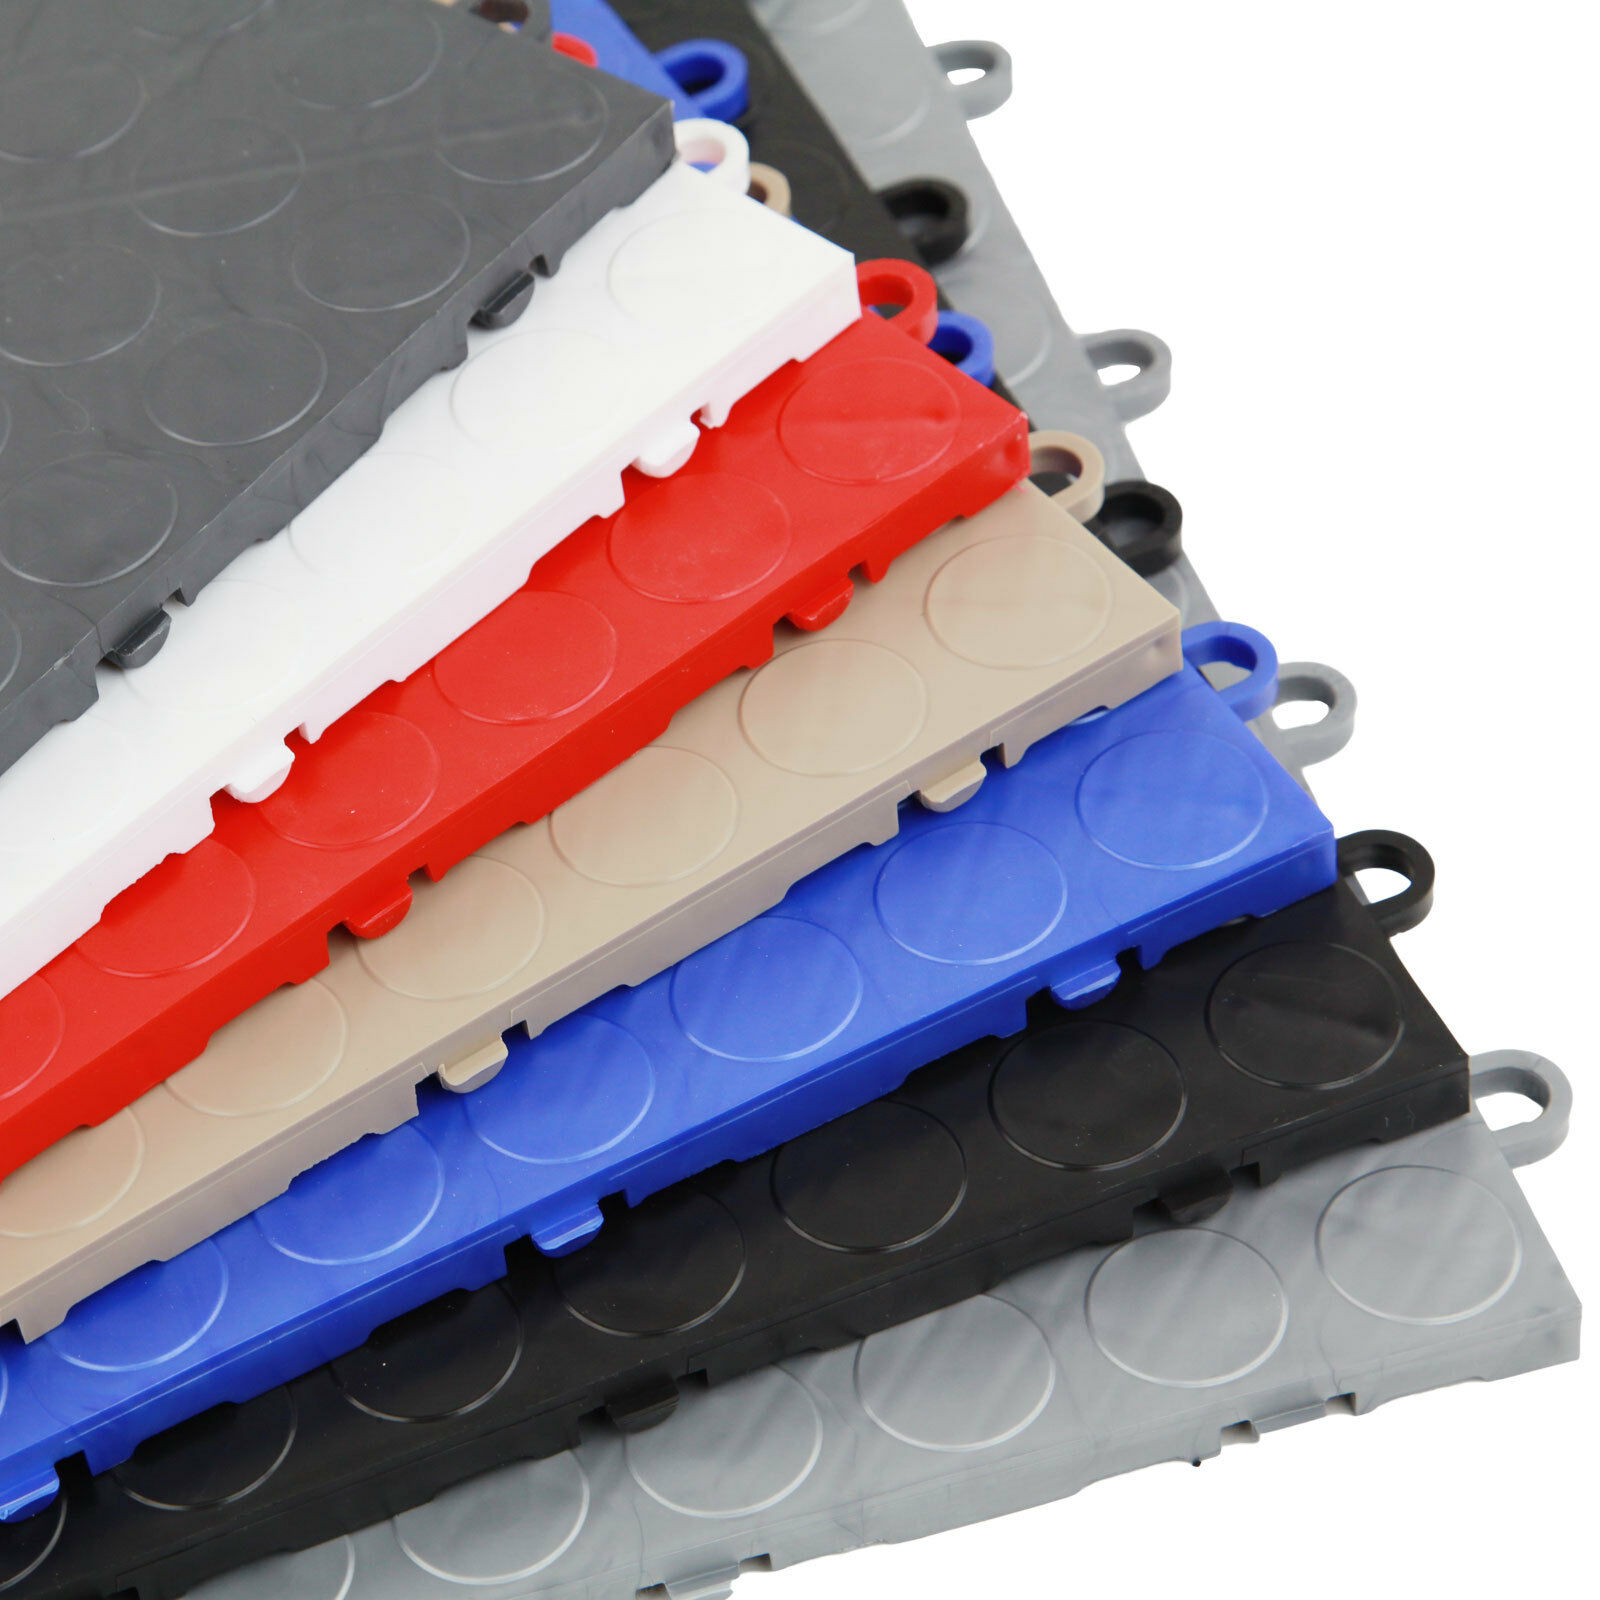
Our mission is to help our customers achieve their vision for flooring wants and needs. These garage tiles are constructed from high-impact polypropylene , proudly manufactured in the USA. Each of these one square foot tiles have a unique interlocking system
Material:
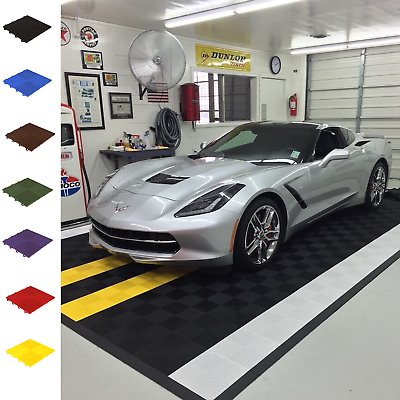
This product is a residential garage floor tiles manufactured to use indoor use only. Please check out other available colors in this auction.
Size:
12"x12"
Height:
1/2" inch per tile
Returns:
Since clearance tiles are overstock and limited quantity , clearance tiles are sold as is no returns/no warranty:
If you receive damaged packages due to transportation please contact us immediately.
If product is received by the customer damaged or if we make a mistake and ship the wrong quantity or color, the customer will not incur any product or shipping charges for us to fix the error.
Tiles are available first come first service basis.
Recommended Uses:
Garage floor tiles are intended to be installed over concrete . These tiles also used as flooring for indoor sports courts.
Shipping:
Garage Floor Tiles typically ship within 24 to 48 hrs and typically deliver within 3-7 business days.
An email will automatically be sent to you with your tracking information as soon as your tiles have shipped.
Maintenance:
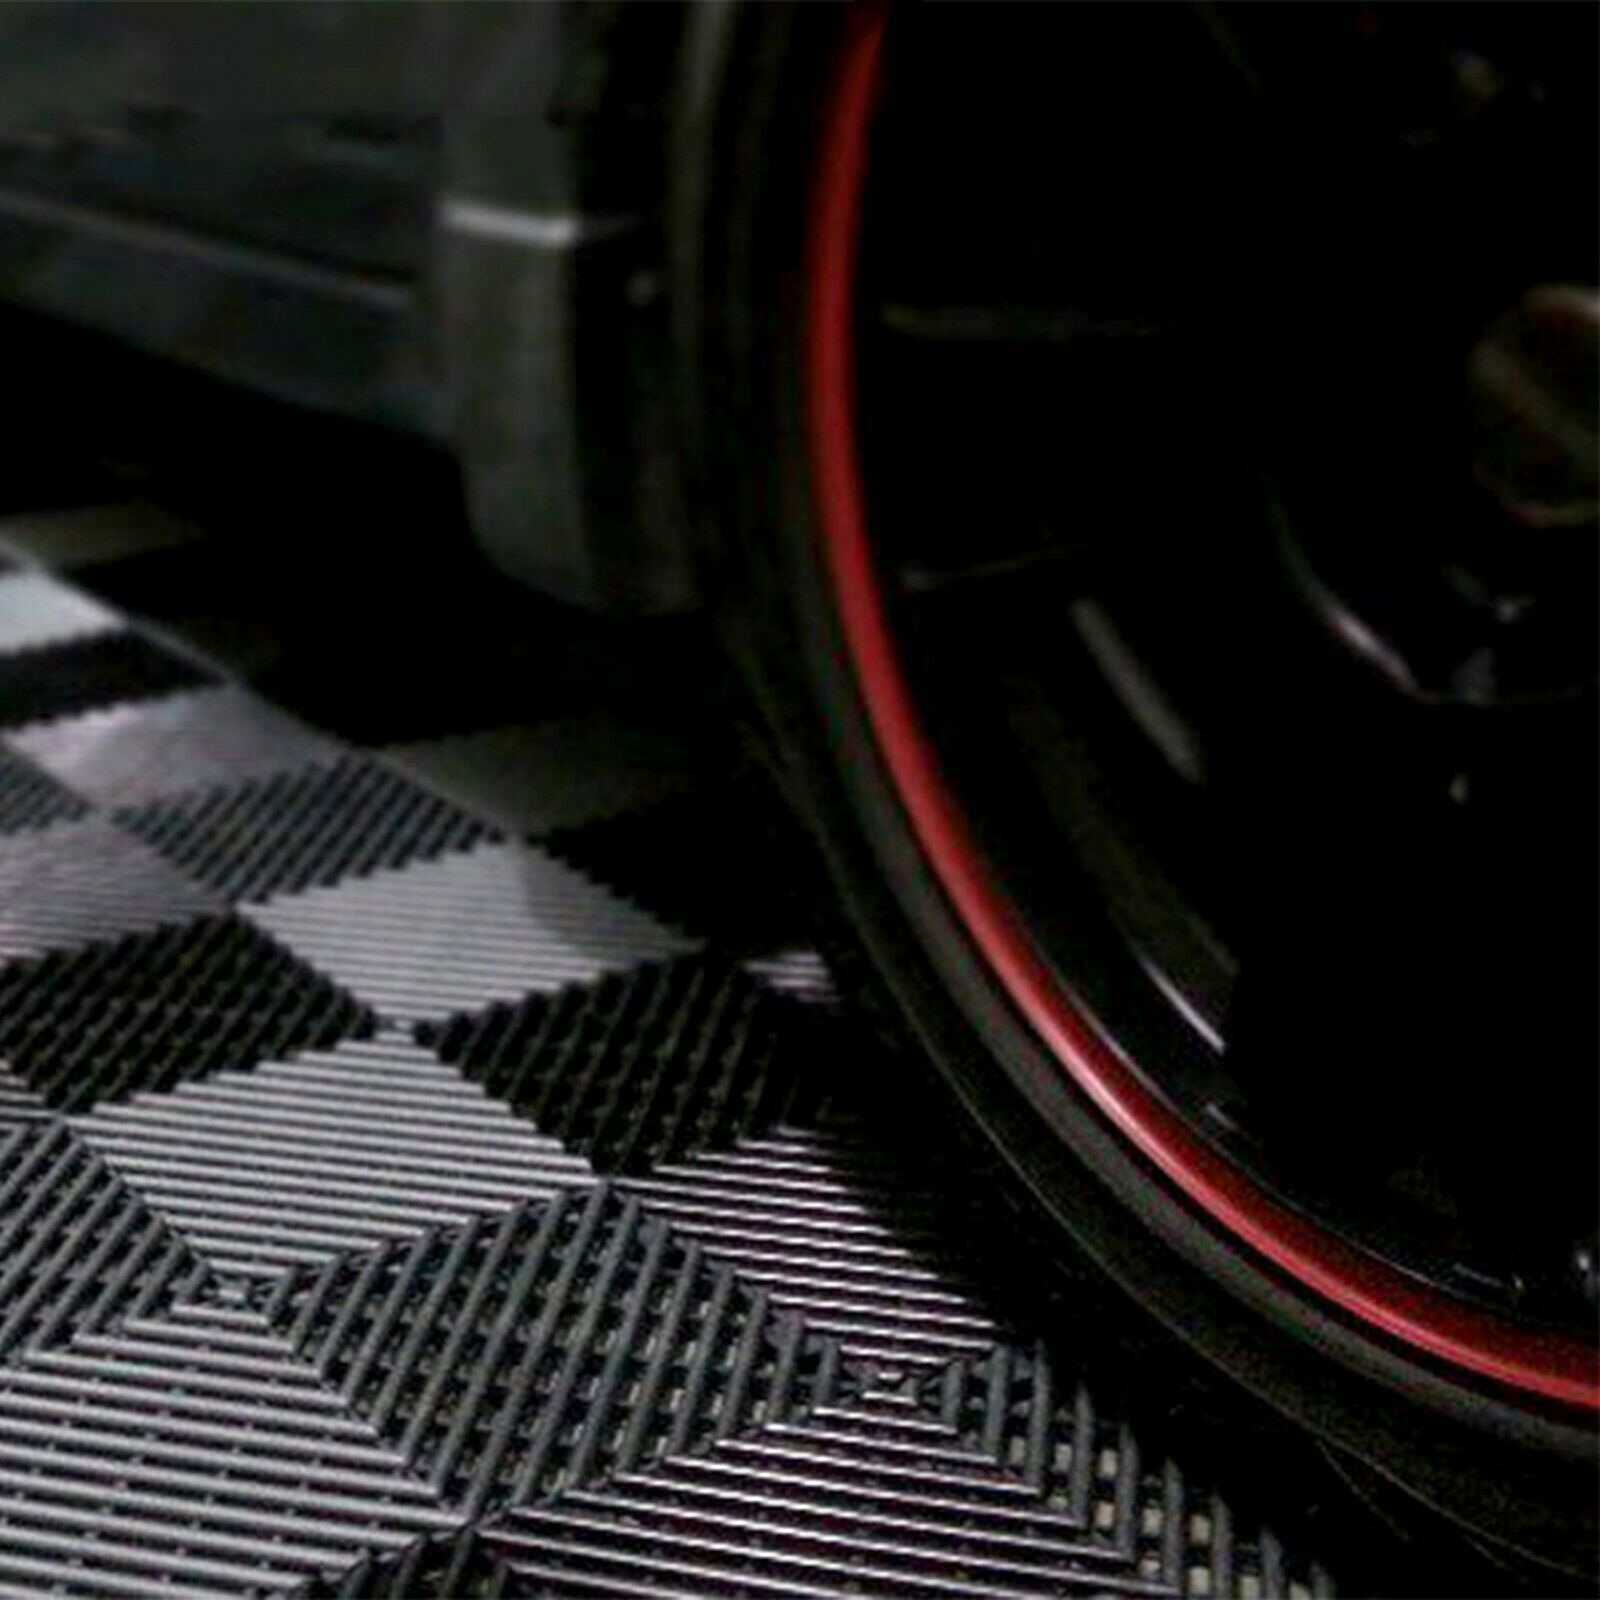
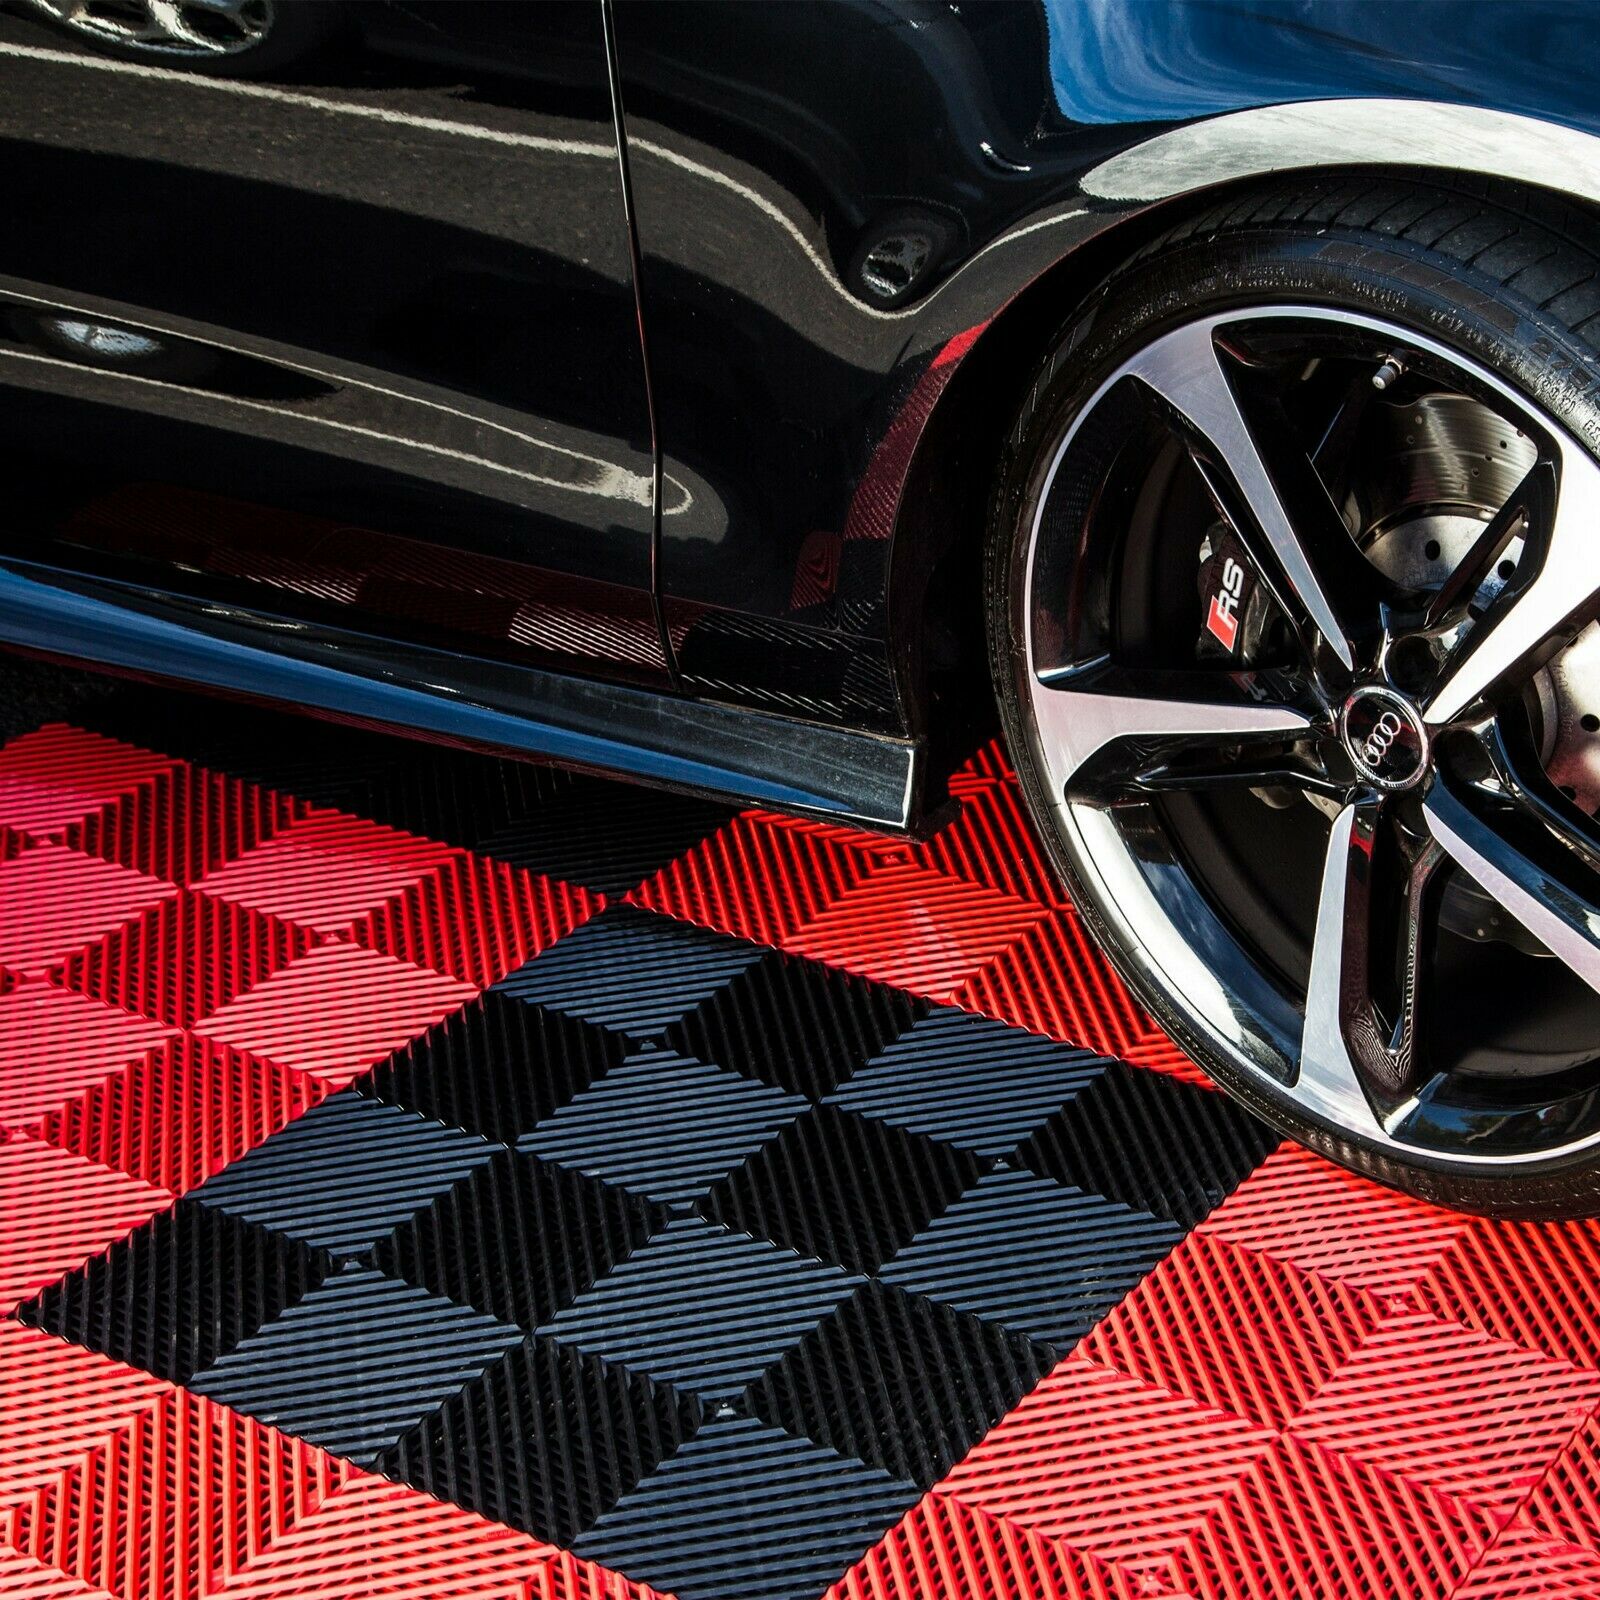
The Perforated surface of the tile has small holes for liquid spills to drain down to the base floor and then through the grid structure underneath, making liquids hardly an issue to clean. However, if sticky debris remains on the tile, it is advised to rinse off your floor.
Clean regularly for the best appearance. Routine cleaning will enhance the life of the flooring.
Installation:
TIP: Although not required, you may wish to use a small plastic mallet and knee pads to further ease the installation process
Clean your sub floor so that it is free of all dirt, dust, grease, or other foreign material.
Install from left to right.
Once you have reached the ending point of a row you continue onto next row from left to right and so forth.
Loops should face upward.
When you need to trim, make sure you leave about a 1/2" gap between the tiles and the wall.
Once the tiles are in place, you can then snap in the edge pieces, if you purchased them.
